Import, export, and move projects
Matemium has two distinct export paths:
- A project archive moves or backs up the complete editable workspace.
- A full-tape document delivers one authored reasoning tape as PNG or PDF.
Neither operation uploads the project. Both run through the desktop application and write to locations you control.
Move a complete project
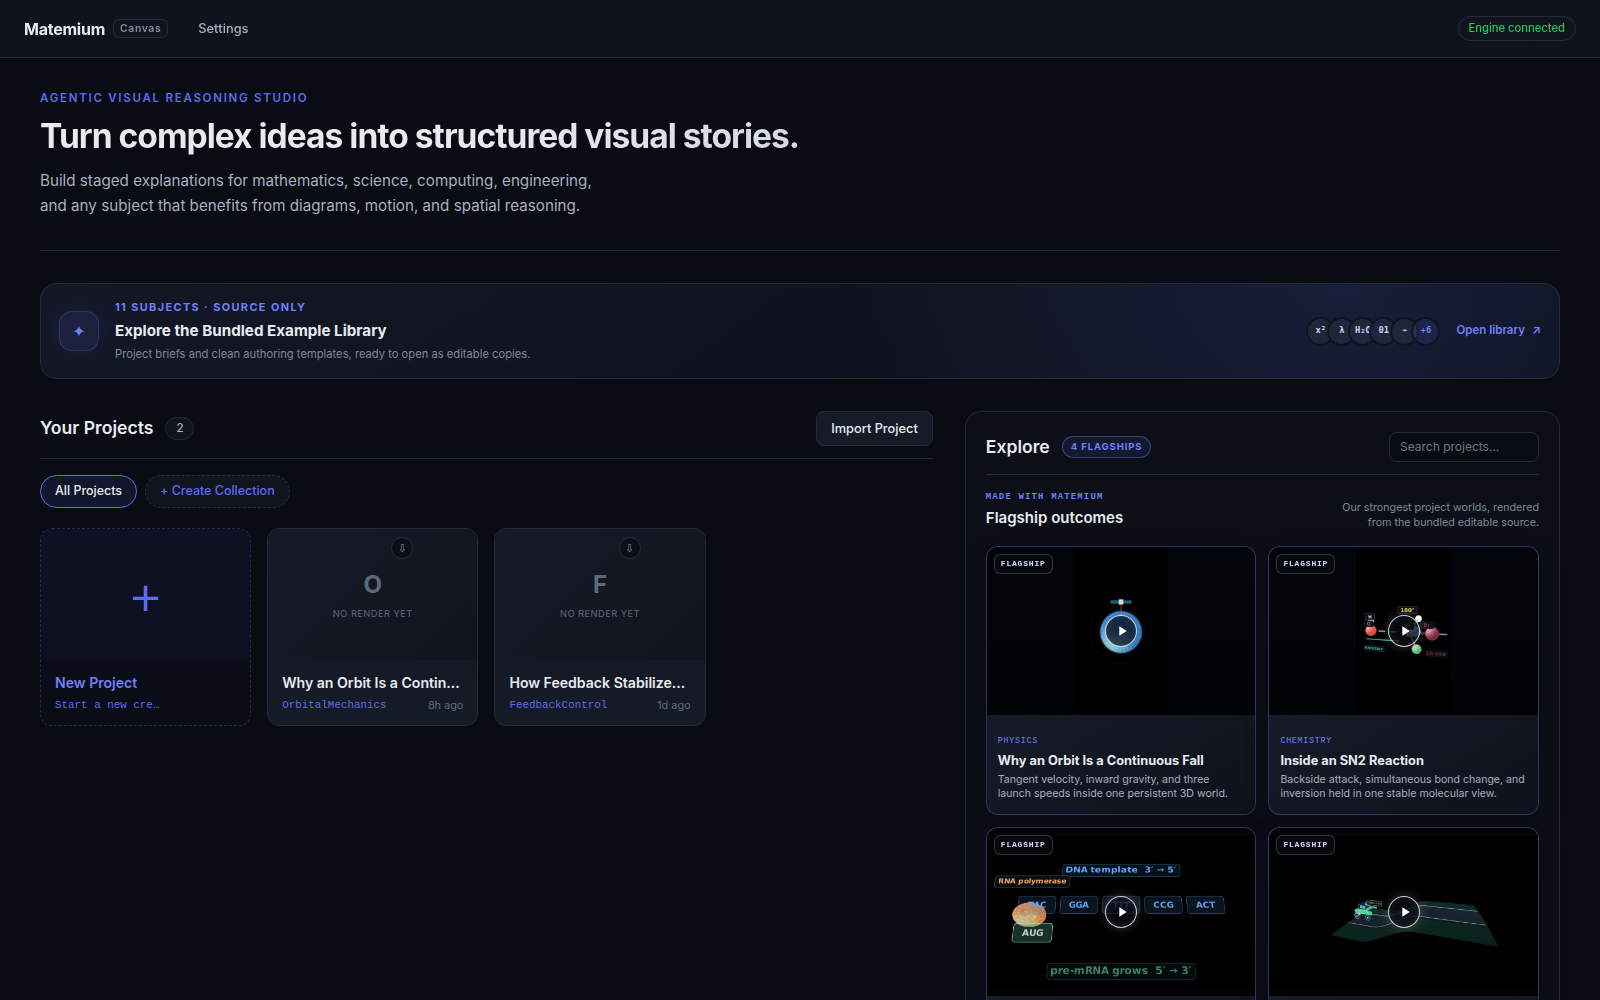
Section titled “Move a complete project”The project library shows Import Project above your local projects. Each project card also has an archive export control.
Export a project archive
Section titled “Export a project archive”- Return to Library.
- Find the project card.
- Choose its download-arrow archive control.
- Save the suggested
<project-name>.matemium.zipfile.
The archive contains the whole project workspace, including project.json,
scenes.py, helpers.py, briefs and tape-content files, imported media,
renders, and output history. Clear disposable render caches first when you want
a smaller archive.
Import a project archive
Section titled “Import a project archive”- Choose Import Project in the project library.
- Select a
.zipor.matemium.ziparchive. - Matemium validates and extracts the archive into its local workspace root.
- The imported project opens automatically.
An import requires both project.json and scenes.py. Matemium rejects unsafe
archive paths, accepts either a workspace-root archive or one wrapped in a
single project folder, and assigns a new local project ID plus fresh creation
timestamps. Importing therefore creates a separate project instead of replacing
the original.
Export a full reasoning tape
Section titled “Export a full reasoning tape”Open a project and choose Export tape in the editor toolbar.
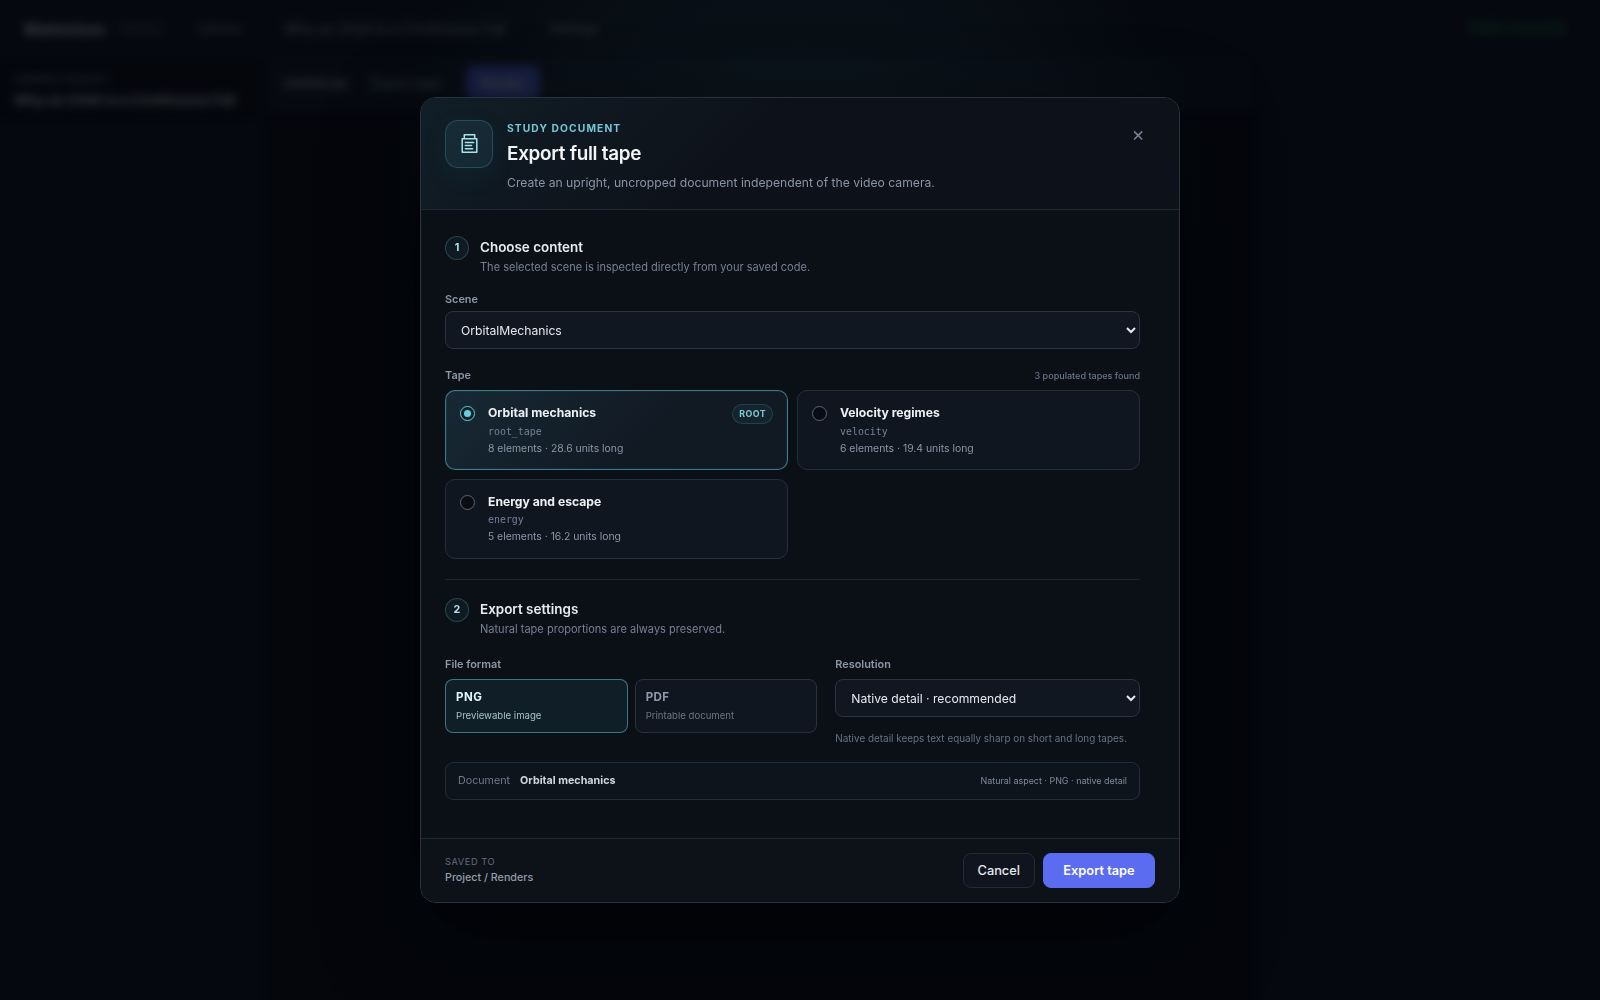
The dialog lets you choose:
- A scene from the saved project source
- Any populated tape in that scene
- PNG for a previewable image or PDF for a printable document
- Native detail, 2160 px height, or 4096 px height
Every output remains upright and uncropped, independent of the video camera. Natural tape proportions are preserved. Native detail is the recommended choice when text should remain equally sharp on short and long tapes.
The result appears under Project → Renders, where you can preview it or show it in the operating-system file manager.
Video is a separate deliverable
Section titled “Video is a separate deliverable”Use Render for animated portrait or landscape output. A tape document is not a captured video frame: it is rendered from the selected tape’s complete layout bounds. This is why a long explanation can become a readable study sheet even when only part of it is visible in any single video frame.